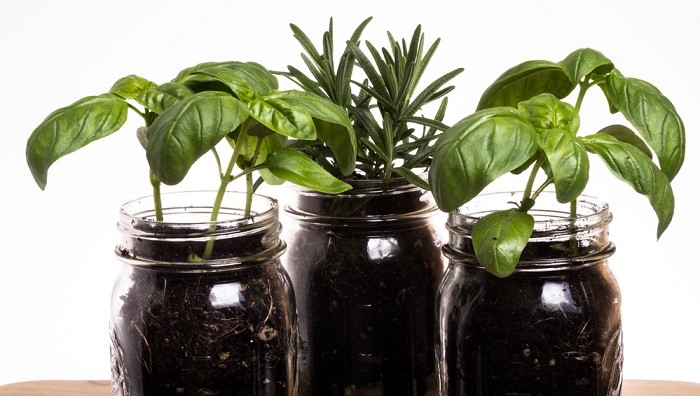
There are many containers that let you plant herbs inside your home or on a patio, but mason jars are among the most popular. It makes for a fun display while also providing a convenient container for your different herbs.
Gather Your Supplies
The first thing you need to do when you intend to plant herbs in a mason jar is to gather your supplies. You should use larger size mason jars with wide mouth openings, preferably the 32-ounce jars. You will also need some potting mix, the herb seeds or plants, small rocks, and some labels for the jars. The labels can be anything you like, from regular stick-on labels you write on with a marker, to chalkboard labels that are easy to change as you change the herbs in the jar.
Planting the Herbs
Now that you have your supplies ready, you can get started on planting the herbs. Here are some basic steps involved in planting herbs in mason jars:
Puts in rocks first. You can also use gravel or marbles at the bottom of the jar. These are there for drainage since your mason jars don’t have holes. Just a thin layer of rocks is all you need.
Add your potting mix on top of the rocks. Make sure you are using potting soil, and not regular soil. The potting soil is lighter and often includes organic material that helps the herbs to thrive indoors. You should have the soil taking up the majority of the jar, except for about the top few inches.
Add the seeds. By this point, you are ready to add your herb seeds. You can also transplant herb plants, but some herbs don’t remain healthy through transplanting, so starting from seed is usually recommended.
Label your jars. Now add your label, and you’re good to go! If you don’t have labels for the jars, you can always write on a craft stick and just place it right in the soil. This is an easy and effective way to label each herb mason jar.